Preparing a silk screen for an image involves a series of steps to ensure that the screen is properly coated with emulsion, exposed to the image, and ready for printing. Here’s a general guide on how to prepare a silk screen for an image using the photo emulsion method:
Materials Needed:
- Silk screen frame with mesh
- Emulsion (photosensitive or diazo)
- Emulsion scoop coater
- Darkroom or dark area with safe light
- Transparency film with your image
- Light source for exposing (exposure unit or sunlight)
- Water source (sink or hose)
- Soft brush or gentle spray nozzle
- Printing ink
- Squeegee
- Printing substrate (e.g., paper, fabric)
Steps:
- Prepare Your Design: Create or select the image you want to print. This can be a digital design that you print onto transparency film using a printer. Make sure the image is black and opaque, as this will determine what parts of the screen will be exposed.
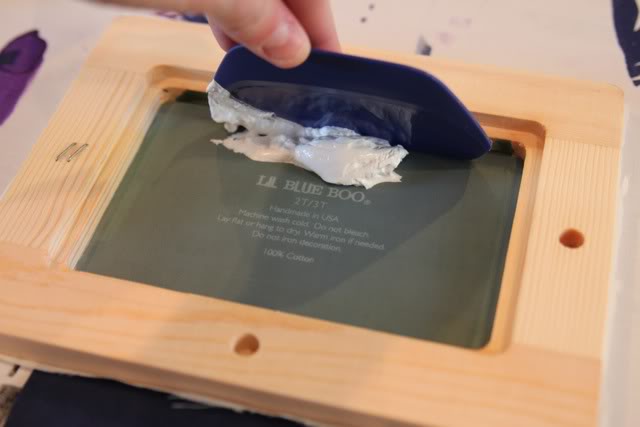
- Coat the Screen with Emulsion:
- Mix the emulsion according to the manufacturer’s instructions, if necessary.
- Place your screen in a horizontal position, with the mesh side facing up.
- Pour a line of emulsion onto the top edge of the screen.
- Use the emulsion scoop coater to spread a thin, even layer of emulsion across the mesh. Start at the top and move to the bottom in one smooth motion. Make sure both sides of the screen are coated evenly.
- Allow Emulsion to Dry:
- Dry the coated screen in a clean, dark, and dust-free area. This can be a darkroom or a dark area in your workspace.
- Keep the screen mesh-side down to avoid dust settling on the wet emulsion.
- Expose the Screen:
- Place the dried screen on a flat surface in your darkroom.
- Position your transparency film with the printed image on the emulsion-coated side of the screen.
- If using an exposure unit, follow the manufacturer’s instructions for exposure time.
- If using sunlight, place the screen in direct sunlight, keeping the transparency film and screen in close contact. Exposure time will vary depending on the sun’s intensity.
- Wash Out the Exposed Screen:
- After exposure, take the screen to a water source.
- Gently spray the emulsion-coated side with a soft brush or a gentle spray nozzle. The areas not exposed will wash away, leaving the stencil on the screen.
- Keep rinsing until your image is clearly visible and the mesh is open in the image areas.
- Allow the Screen to Dry:
- Once the screen is washed out, let it dry in a clean area. The emulsion should harden, creating a durable stencil on the screen.
- Prepare for Printing:
- Tape off any areas around the stencil that you don’t want to print.
- Place the substrate (paper, fabric, etc.) underneath the screen.
- Apply a line of ink along the top edge of the stencil.
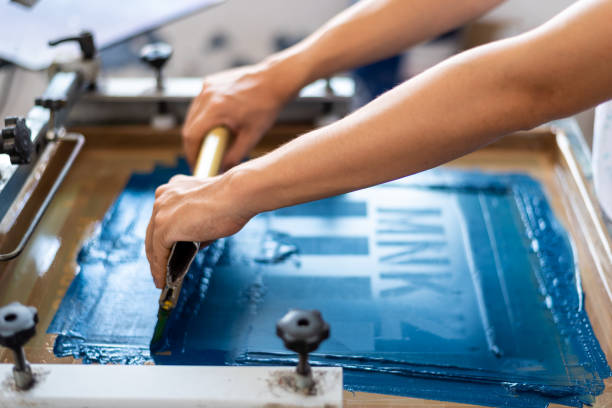
- Print the Image:
- Hold the screen above the substrate.
- Using a squeegee, apply even pressure while pulling the ink across the stencil. This will transfer the image onto the substrate.
- Lift the screen carefully to reveal your printed image.
Remember that the specifics of each step may vary depending on the type of emulsion and equipment you’re using. Always follow the manufacturer’s instructions for the best results.